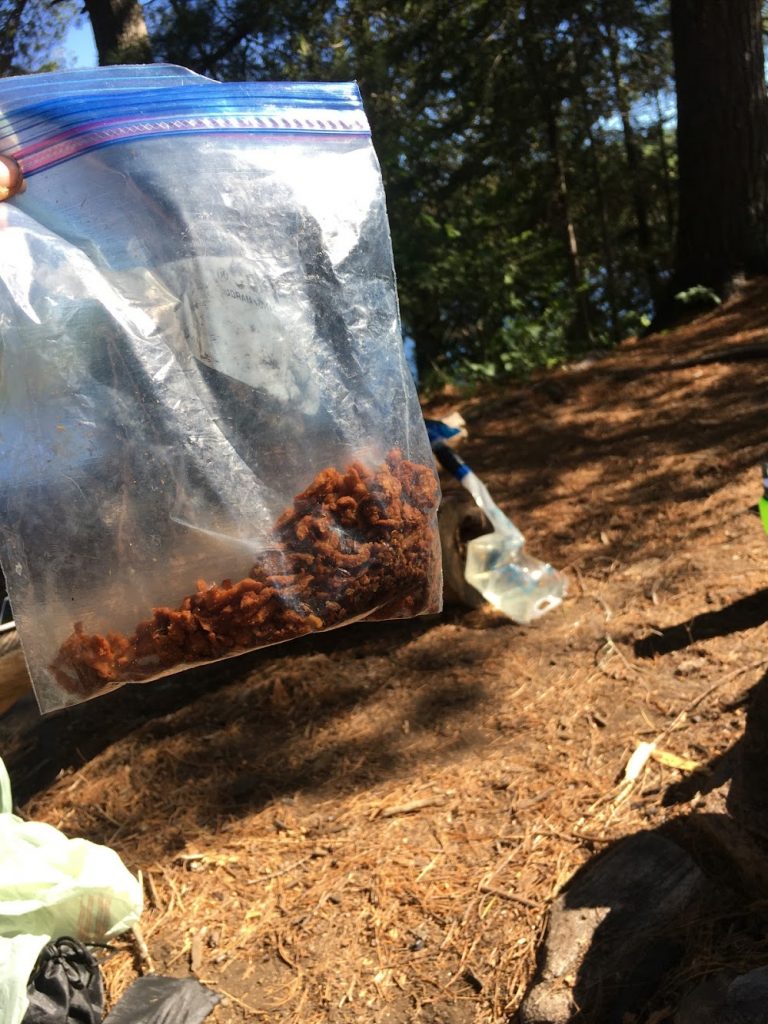
Soy Curl Jerky
Equipment
- Dehydrator
Ingredients
- 1 1/2 cup 'beef' stock
- 2 tbsp soy sauce
- 1 tsp liquid smoke
- 2 tbsp vegetable oil or any neutral flavoured oil
- 1/4 cup bbq sauce plus extra for basting
- 1 tsp black pepper
- 227 grams soy curls (one package or the Butler soy curls)
Instructions
- Add all the ingredients except the soy curls to a sauce pot and bring to a boil.
- Place the soy curls into a bowl and once the mixture is boiling pour over the soy curls. Make sure that they are all coated evenly, cover with a cloth and set aside for 10 minutes.
- After 10 minutes check on how soft they have become. They should be just soaked through, but maintain their shape when held up. You can check by cutting one in half to see if the marinade as penetrated through. If not leave for another 5 minutes.
- Once marinated place the jerky onto dehydrator racks. Save any extra marinade in the fridge to coat them later and/or for another batch. * See notes below for stove instructions.
- Make sure they are spread out well, without any of them touching.
- Set dehydrator to 135℉ (57℃) and leave for 4 hours. After 4 hours check to see if they are drying well and evenly. Brush on some extra marinade, as well as a layer of the bbq sauce. Depending on how dry they are, and how dry you like them, leave for another 1-2 hours.
- When finished you want them to still have some bend and chew, rather than crisping and cracking.
Notes
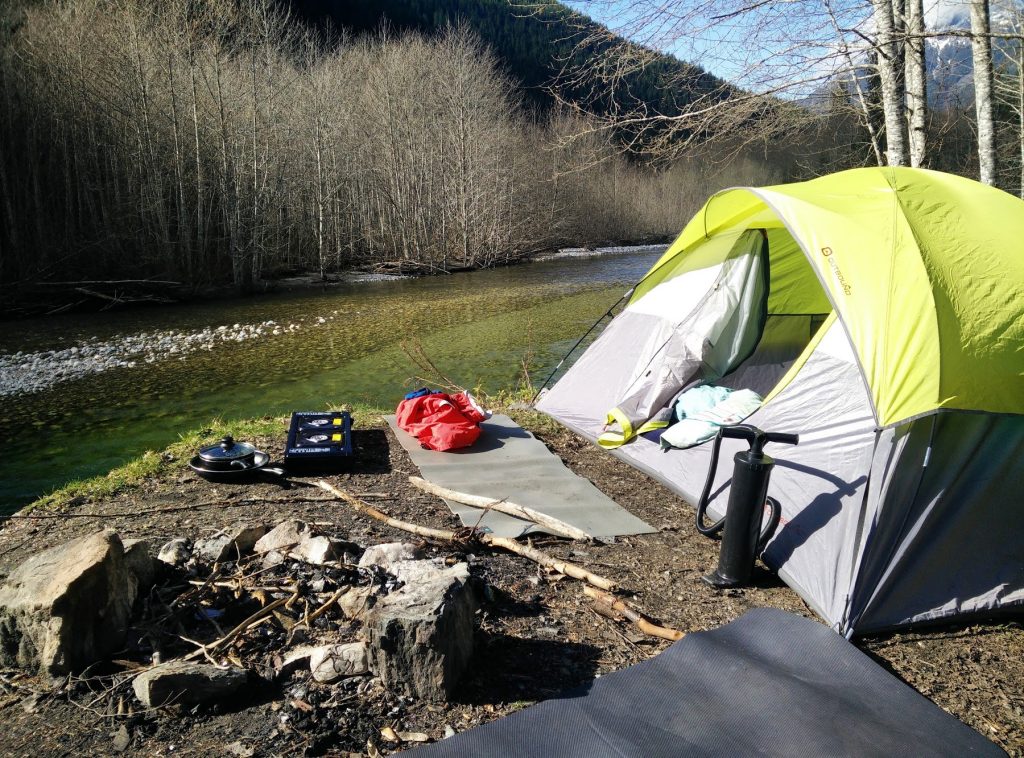
Continuing the outdoor meals series of recipes is this one for vegan soy jerky! Since stopping eating meat, jerky has been one of the things that I have missed most since its taste and texture is not easily replicated. This simple recipe is a nostalgic and meat-free version of a classic beef jerky. It is easily customizable and great to bring out on the trails.
What are soy curls?
For this recipe I used Butler Soy Curls, which are made from dried whole soybeans. You can use them as a meat replacer in so many dishes, such as a stir fry or pasta. When rehydrated they have a similar texture to chicken breast. Overall, these are great for making jerky. When rehydrated they absorb any flavours you add to the stock. After being re-dehydrated they have a chewy texture similar to classic beef jerky.
Materials Needed
I used a dehydrator for this recipe since I have one, but it can also be done in an oven. Set at the lowest setting (usually 200℉ or 93℃) and place them in, well spread out on a sheet tray. The time will depend on your oven, humidity where you are and also how chewy you prefer it to be!
How to store soy jerky?
This jerky will last in the fridge for a few weeks or out of the fridge for around a week. To be honest though it has always been eaten faster than that around here! They don’t have to be refrigerated making them great to bring out onto the trails for a high protein snack
This recipe is a great starting point to customize the soy jerky however you want. So far I’ve tried it with BBQ sauce, chili peppers and even a biltong-inspired spice mix, and all have turned out delicious!
If you try this recipe out, let us know. We would love to see any photos you take of this recipe! Tag us @easyveggie.recipes on Instagram or comment down below!